
How to Handle a Roof Leak: DIY Tips Before Calling the Professionals
Identifying the Source of the Leak
A roof leak can cause significant damage if not addressed promptly. Before you decide to call in the professionals, there are some steps you can take to identify and possibly mitigate the issue. The first step is to locate the source of the leak. Water stains on your ceiling or walls are common indicators of a leak, but finding the exact source can be tricky.
Start by inspecting your attic or the highest point in your home during daylight hours. Look for any signs of water intrusion, such as dark spots on wood or wet insulation. It might help to have someone hose down the roof while you observe from inside to see where water is penetrating.
Temporary Fixes for Immediate Relief
Once you've identified the source, it's crucial to take immediate action to minimize damage. A temporary fix can often prevent further water intrusion until professional help arrives. Using a piece of tarp is an effective short-term solution. Secure it tightly over the affected area with nails or heavy-duty adhesive.
Another option is to apply roofing cement or silicone caulk to seal small holes or cracks temporarily. Ensure the surface is dry before application for better adhesion. These temporary solutions are not substitutes for professional repairs but can save you from further damage in the meantime.
Cleaning and Preparing the Area
Before any repair work, it's essential to clean and prepare the area around the leak. Remove any debris, leaves, or branches that might have accumulated on your roof. This will give you a clearer view of the damaged area and prevent additional issues.
Inside, make sure to clear away any furniture or belongings from beneath the leak. Place a bucket or container to catch dripping water and protect your floors. Dry out any soaked areas using fans or dehumidifiers to prevent mold growth.
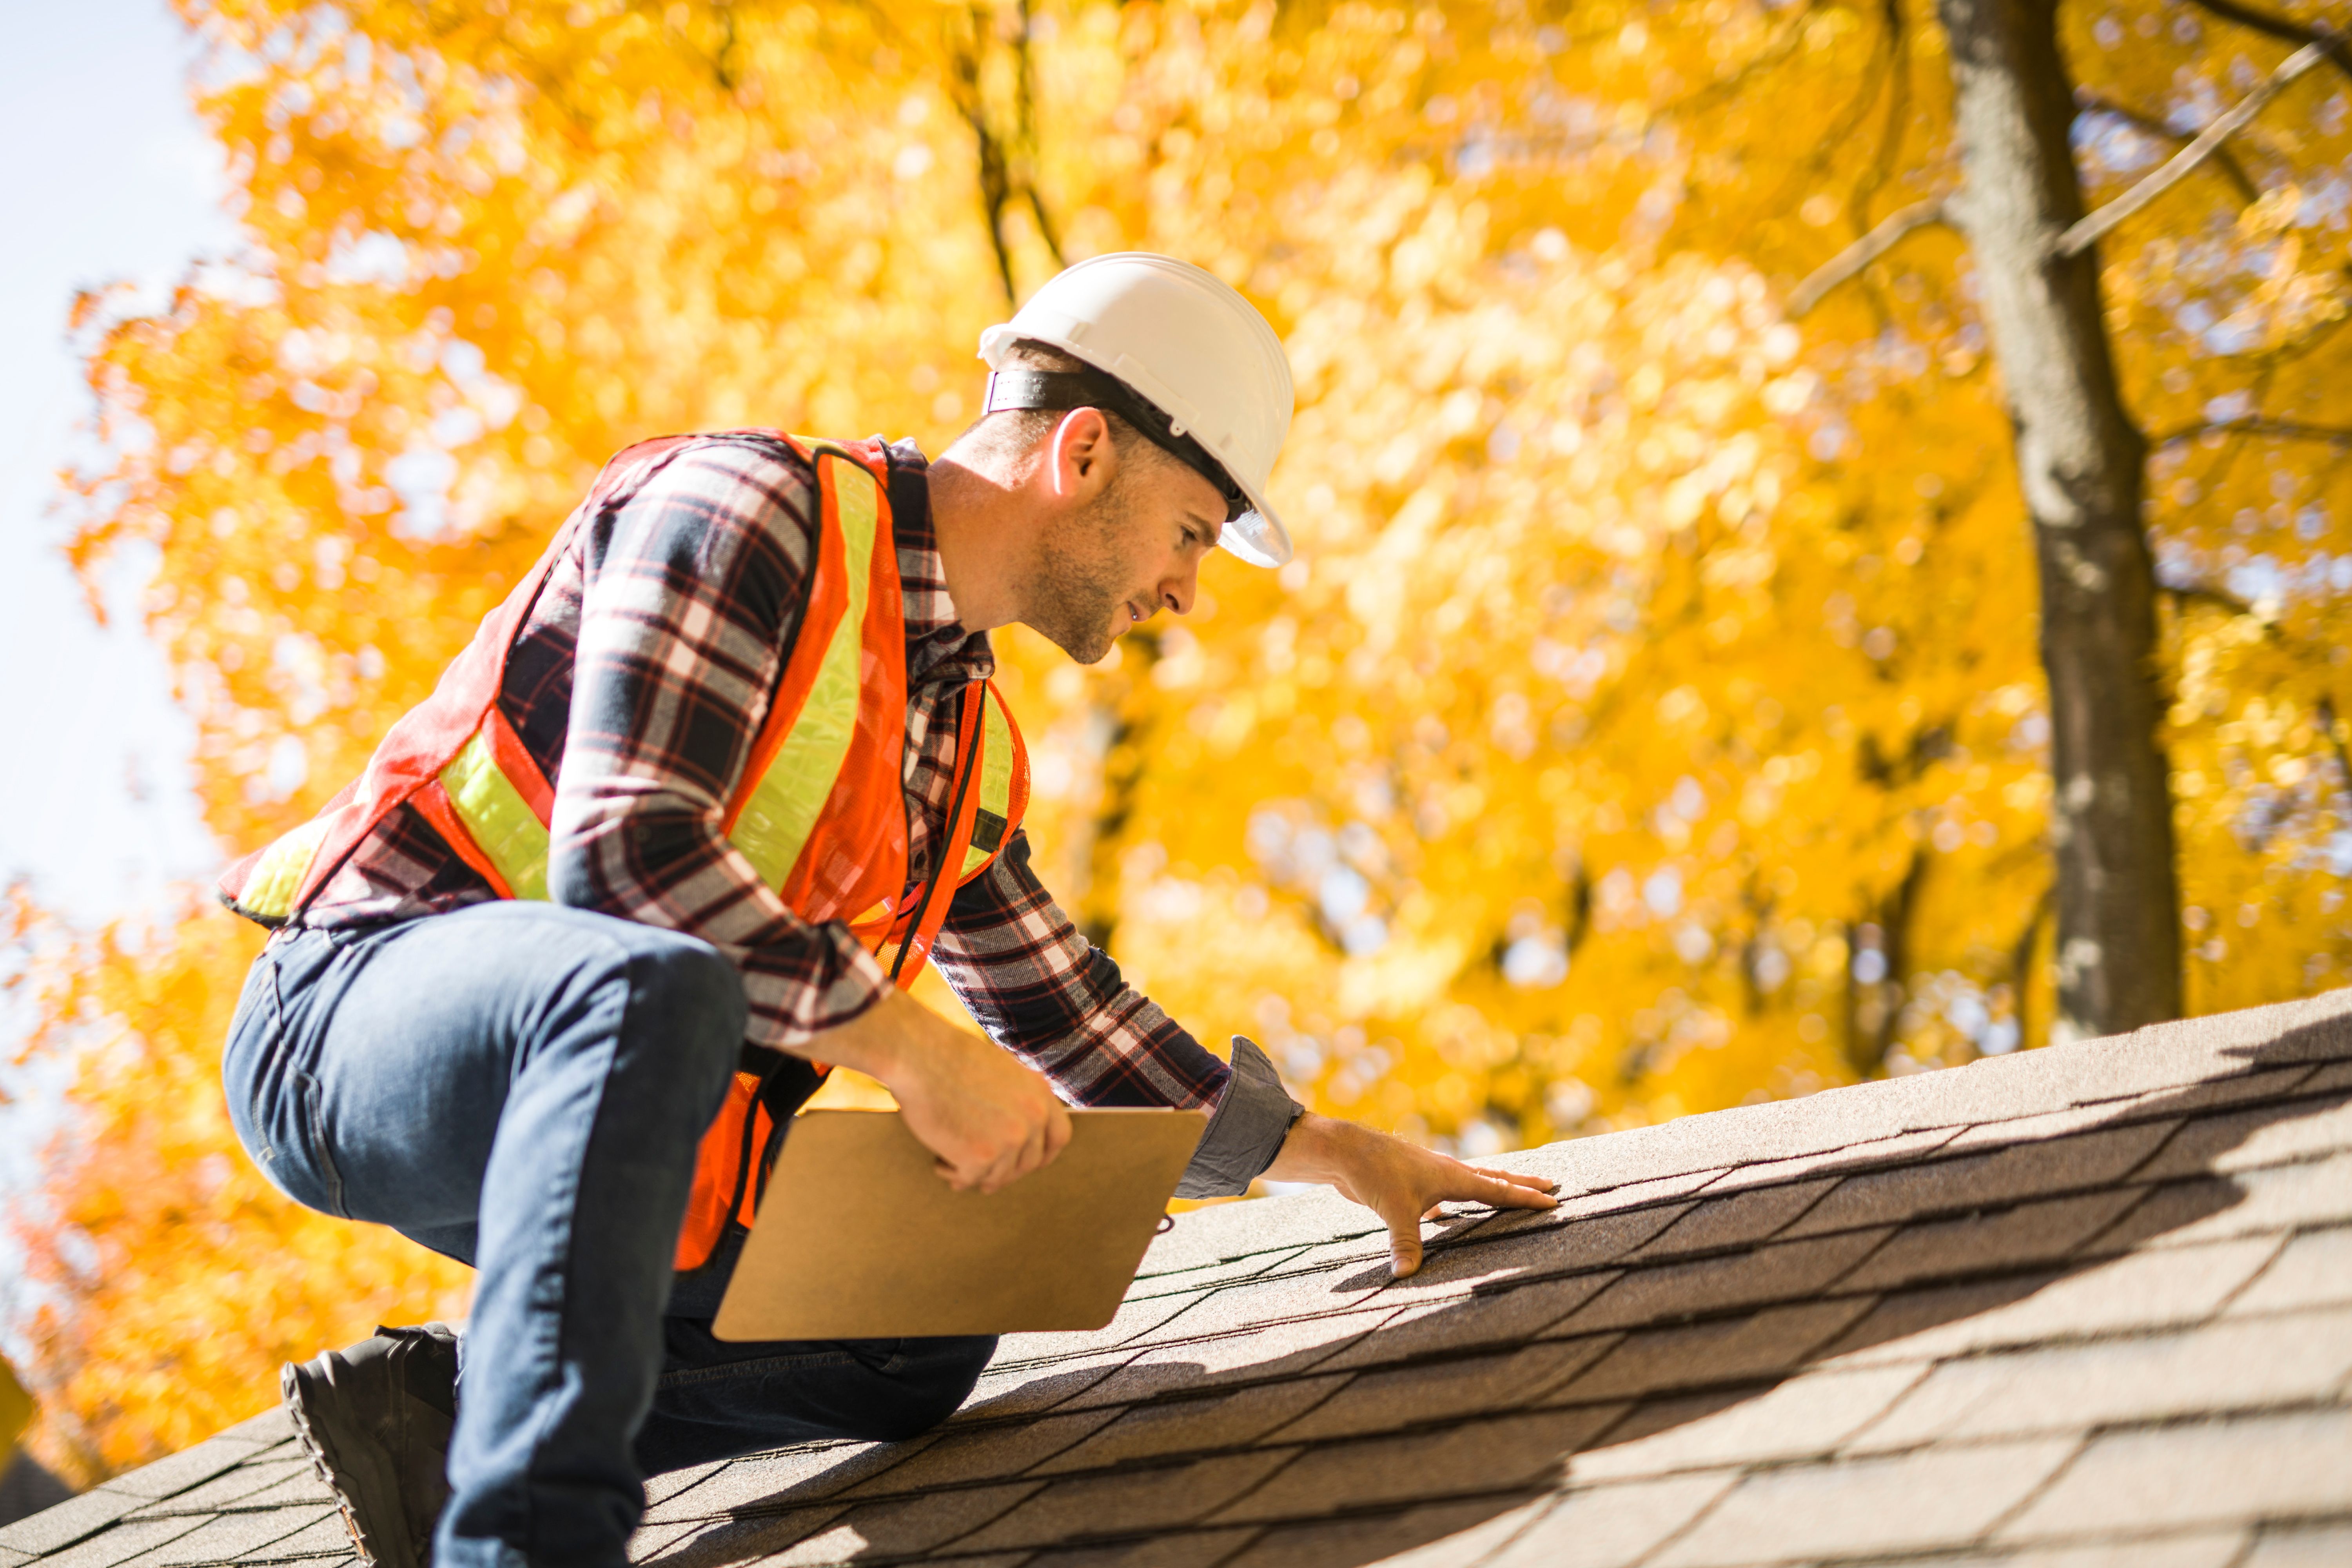
Assessing Roof Damage
Inspect your roof for damaged shingles, cracked flashing, or other visible signs of wear and tear. Shingles that are curled, cracked, or missing can contribute significantly to leaks. If you're comfortable with basic repairs, you might be able to replace damaged shingles yourself using a few simple tools.
Check the flashing around chimneys, vents, and skylights as these are common areas where leaks begin. If the flashing is cracked or has gaps, resealing it with roofing cement can provide a temporary fix until a professional can assess the situation.
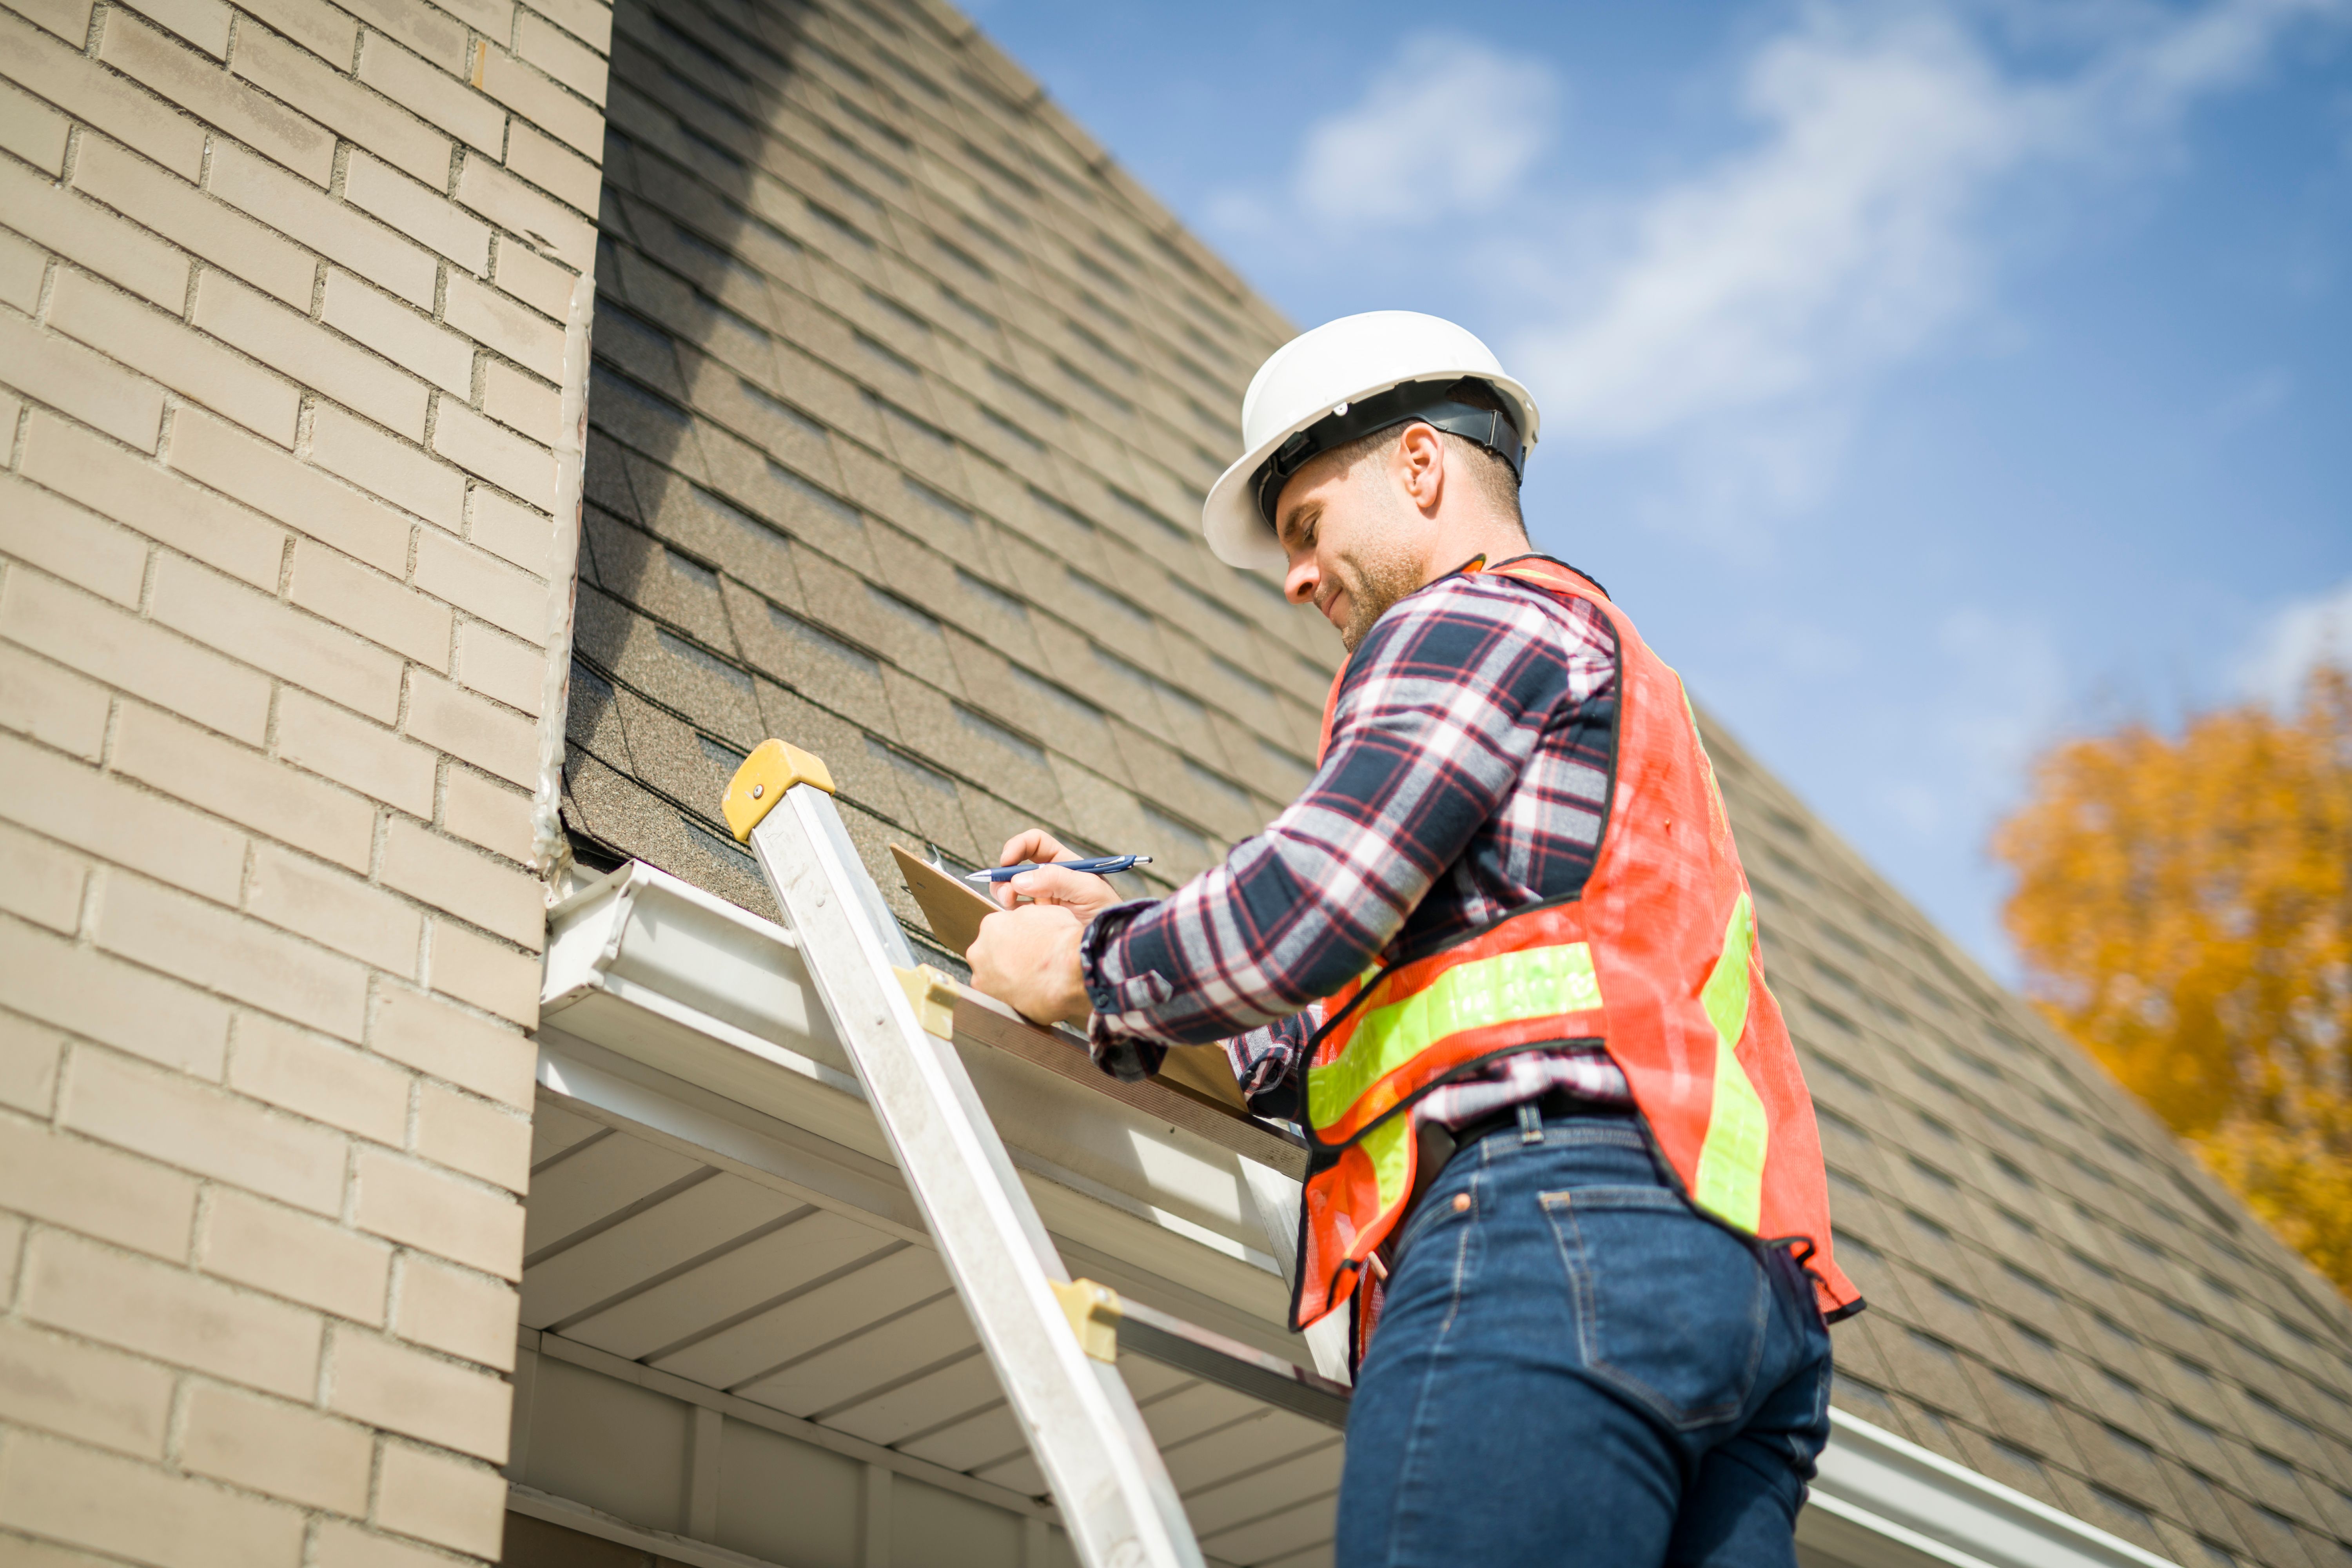
When to Call Professional Help
While DIY methods can be handy for immediate relief, some situations require professional expertise. If the leak persists despite your efforts or if there's extensive damage to your roof structure, it's time to call in a roofing specialist.
Professionals have the tools and experience necessary to perform a thorough inspection and provide lasting repairs. They can identify underlying issues that may not be visible to the untrained eye, ensuring your roof is restored to optimal condition.
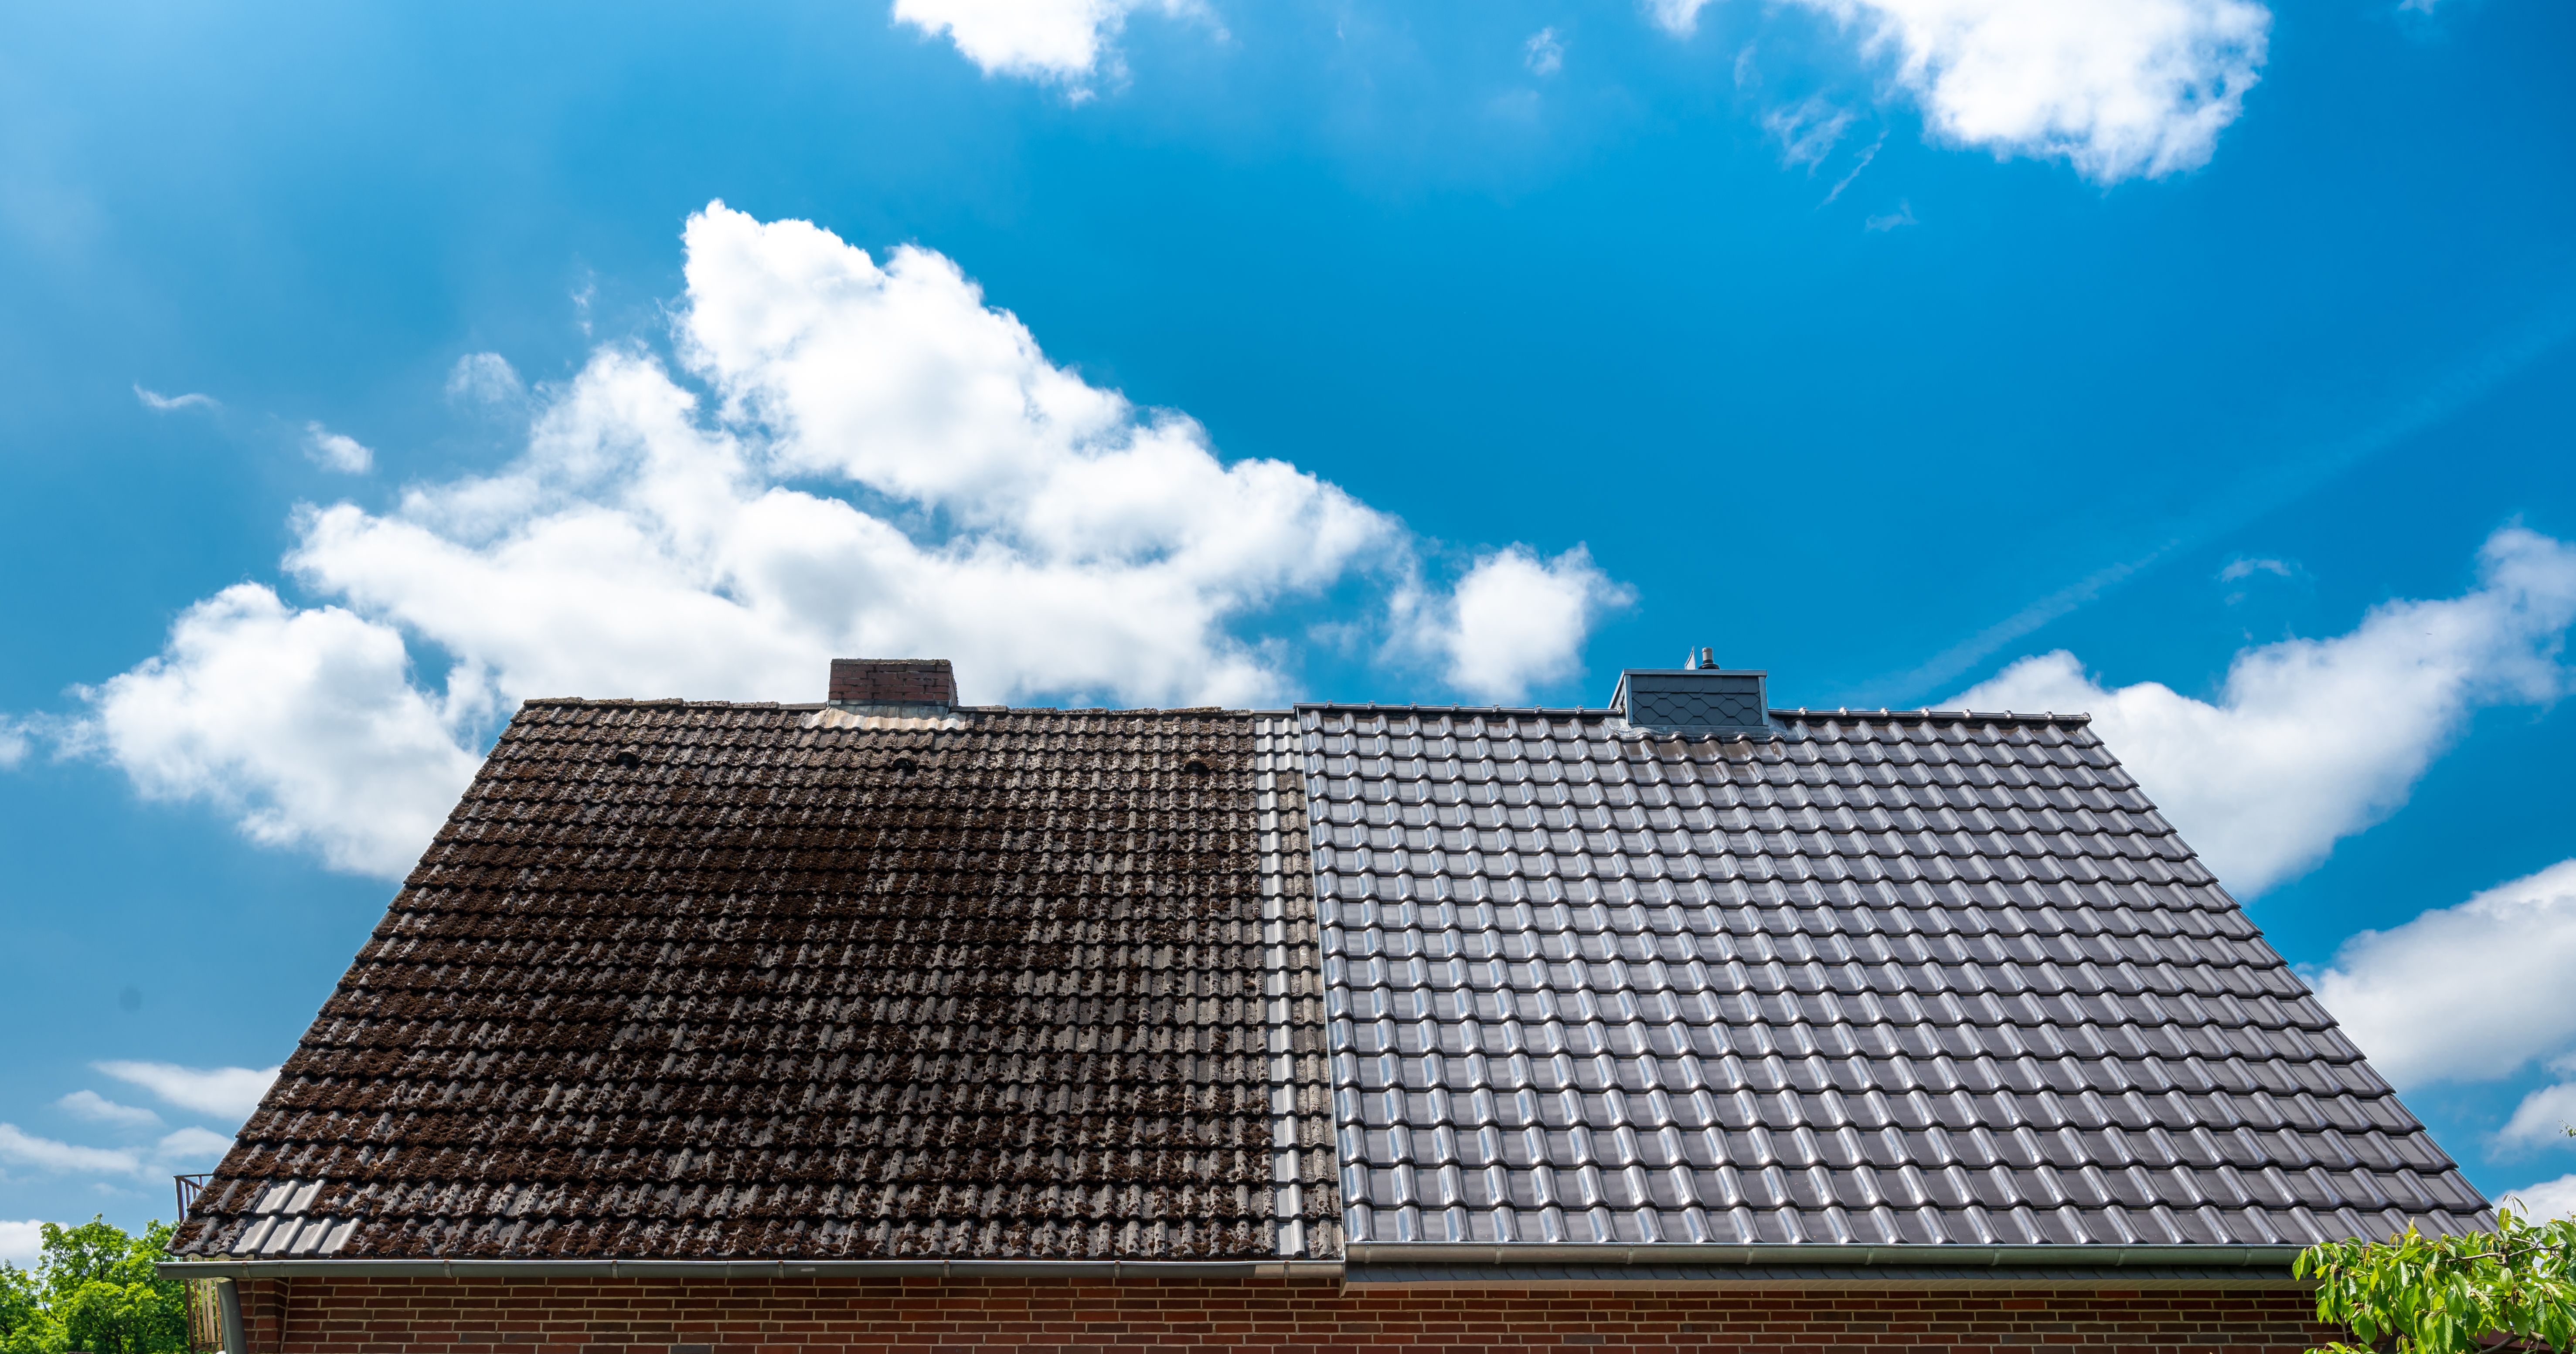
Preventive Measures for Future Leaks
Once your roof is repaired, consider taking preventive measures to avoid future leaks. Regular maintenance and inspections can catch small issues before they become significant problems. Keep gutters clear of debris, trim overhanging tree branches, and inspect your roof annually.
Investing in high-quality roofing materials can also extend the lifespan of your roof and reduce leak occurrences. Consider installing waterproof underlayment beneath shingles for added protection against water penetration.
Conclusion
Handling a roof leak can be daunting, but with quick action and temporary fixes, you can minimize damage before professionals arrive. Remember that while DIY solutions are helpful for immediate relief, lasting repairs often require expert intervention. By identifying leaks early and maintaining your roof, you can protect your home from water damage and ensure its longevity.